")
")
")
Episode 1/6 : modification of the stove
This is the first episode of our winter projet. SMS remote control of a TECTRO SRE703 electronic fuel injection stove.

Attention : I decline any responsibility concerning the modification of a heating device.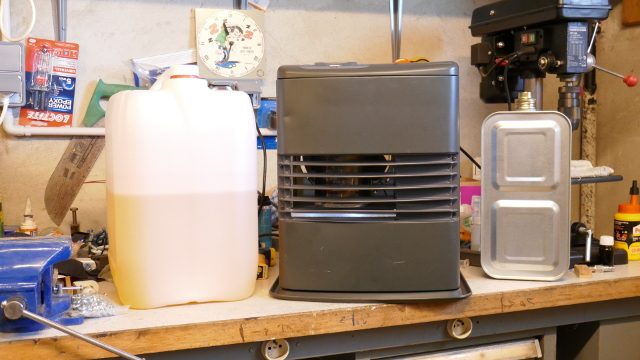 This is our stove, bought in 2004 and still working perfectly. The main interest of this stove is that it is fully automated.
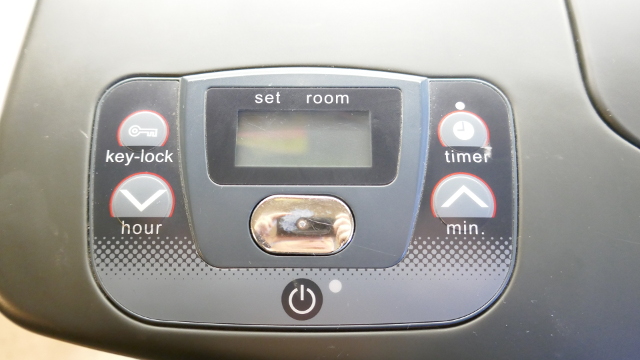 The ignition but also the extinction is entirely managed by the chromed switch on the front panel. The other facade buttons make it possible to manage the timer and the temperature preset (which remains conserved even off).
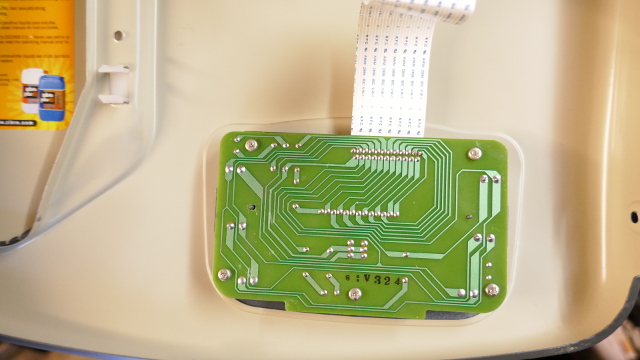
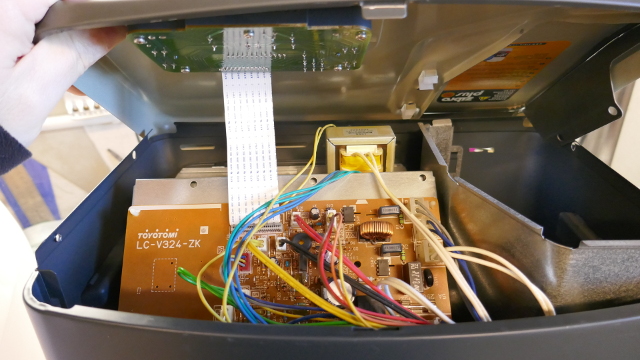 After removing three screws, the hood is raised and we see appearing the management card, a secondary card for the front panel connected by a flat cable. I disconnect this cable at the level of the main board
 The electronic board manages all the sensors and actuators of the stove. In the background, a small transformer lowers the mains voltage (240V AC) which is rectified and filtered on the board.
 The terminals of the switch are easy to locate, the number of 6, above the central screw. We will solder in parallel of the switch two wires. We will later connect the other two ends to the two normally open contacts of a relay, itself controlled by a GPIO of the raspberry pi zero.
 The choice of the cable is important, we are in a heater, a cable RAYCHEN 0.75mm 125 ° C will be more than enough. The white flat cable supports it up to 80 ° C.
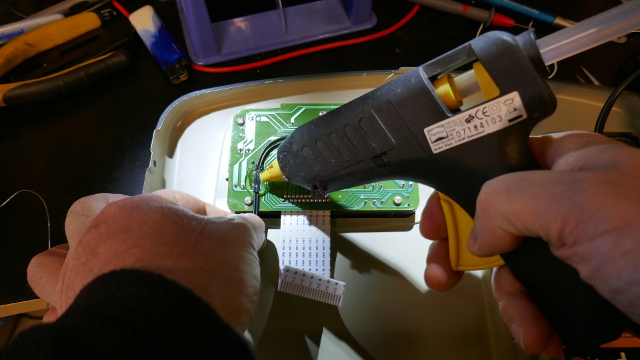 Do not hesitate to fix the two wires with hot melt glue, the solder must not withstand mechanical stress.
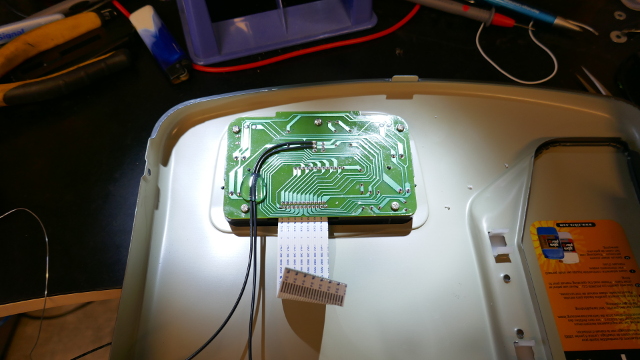 Allow the hot melt glue to cool down and then check for strength. The front panel is ready to be reassembled.
 I close the hood of the stove, checking the path of the two wires. I make it out by a ventilation aperture to avoid the drilling of the cabinet.
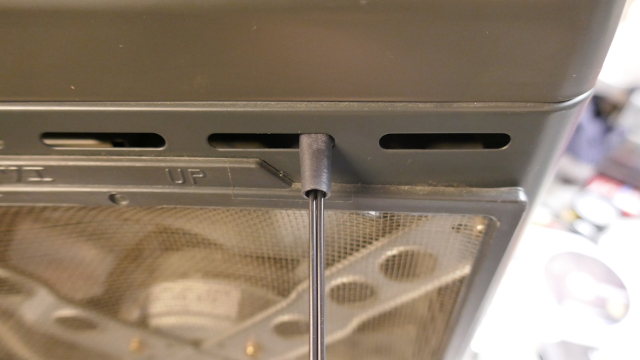 I add a flexible sleeve to prevent the two wires been injured by the sheet metal cabinet that is pretty sharp. It's over for the preparation of the stove.
See you soon.